

DIY vs BUY - Soundproofing
DIY Acoustic Diffusers
This was a harder decision than the earlier ones. After some research it turned out to be a definite DIY project. The inexpensive foam or plastic ones were not effective designs or materials. The effective ones were seriously expensive. There were very few diffusers in that middle price range that looked to still be effective designs. What did that matter anyway? The middle priced products were still way more than I was going to spend on diffusers!
Diffusers rank pretty high in my book in the blatantly over priced item category. Especially because most studios need so many of them to cover our multitude of flat walls. Basically all we want them to do is to avoid the simple bouncing back of sound from a flat surface which tends to cause inconsistancies in reverb and frequency buildup. To do this they must reflect (and often partially absorb) certain sound frequencies by bouncing the different wavelengths in multiple directions. This can give a room more of a large ambient reverb quality instead of the infamous small room "flutter echo" sound. Granted, there is some science and math behind this... Luckily there are also scientists and mathematicians out there who simplify this kind of crap for those of us that just want to crank out some cheap and halfway decent acoustic diffusers!
A Word on Diffusser Materials: No soft foam (no, not even Auralex), No un-backed plastic, no egg crates, no hollow anything, no blankets. What you are looking for is a reflective material that can be enhanced with some absorbtive qualities behind it. Many of the top designs are an absorbtive material with hard reflective slots in front many of which can be repositioned to alter the sonic effects. If money and time were no obsticles I would have either bought them premade or made them out of hinged movable nice wood slots in front of a cloth covered Corning 703 layer. I am cheap and without thtat kind of time so I went with a dense acoustic foam and added a more reflective surface to the outside. Again, this was because it is cheap, possesses both reflective and absorptive properties and I had it sitting around from an earlier half-assed lightweight window plug design.
Diffusser Design Options:
Quadratic Diffuser: A multi depth design of bars or slots that are mathematically calculated to deflect frequencies within a certain range. These can also contain absorptive materials within and between the slots.
Polycylindrical Diffusers: As the name suggests these are partial cylinder shapes. While they are supposed to be great at reflecting sound in a pleasing way, the construction, large size of the cylinders and finding the appropriate materials simply were not an option for my small home studio.
Cube Diffussers: These are sunken cubes in a frame, or raised cubes on a backboard. They are not reported to work as well as other diffuser designs. However they are less expensive, simple to construct, and better than nothing... So they are quite common.
Skyline Diffussers: A multi depth design of shapes. Sometimes random, sometimes based on percise frequency diffussion calculations. They can be shaped as cubes, triangles, cylinders, any other shapes or a combination of all of these shapes together on one background. They very from poor performing eye candy (random designs), to some of the most percise and effective diffusers around (precisely calculated).
The Decision: No on poly or cube design for me... So it was down to Calculated Quadratic vs Calculated Skyline. The advantage of the calculated skyline design is that it reflects the frequencies in all 4 directions (up, down, and side to side) which gives more diffusion throughout the room. The downsides to the skyline approach are that the percise calculations are more difficult to construct and that theybwould throw more frequencies toward my acoustically untreated cealing. Quadratic was the overall design winner for me. Easy to calculate, construct, effective and not too bad looking even with the way I planned to throw it together.
There is a great little program that I found on the web which allows you to design the dimensions of your quadratic diffuser in order to focus on a specific frequency range. I chose a frequency range that averages around 750khz. (but has an effective range from about 250khz to 1250khz) I went with that freq range because I needed the most reverb and frequency control on my acoustic instruments and male vocal recordings. The frequency problems that I had with most of those recordings fell mostly within that frequency spectrum. I will attach the Quadratic Calculation program here for you to use.
 Construction
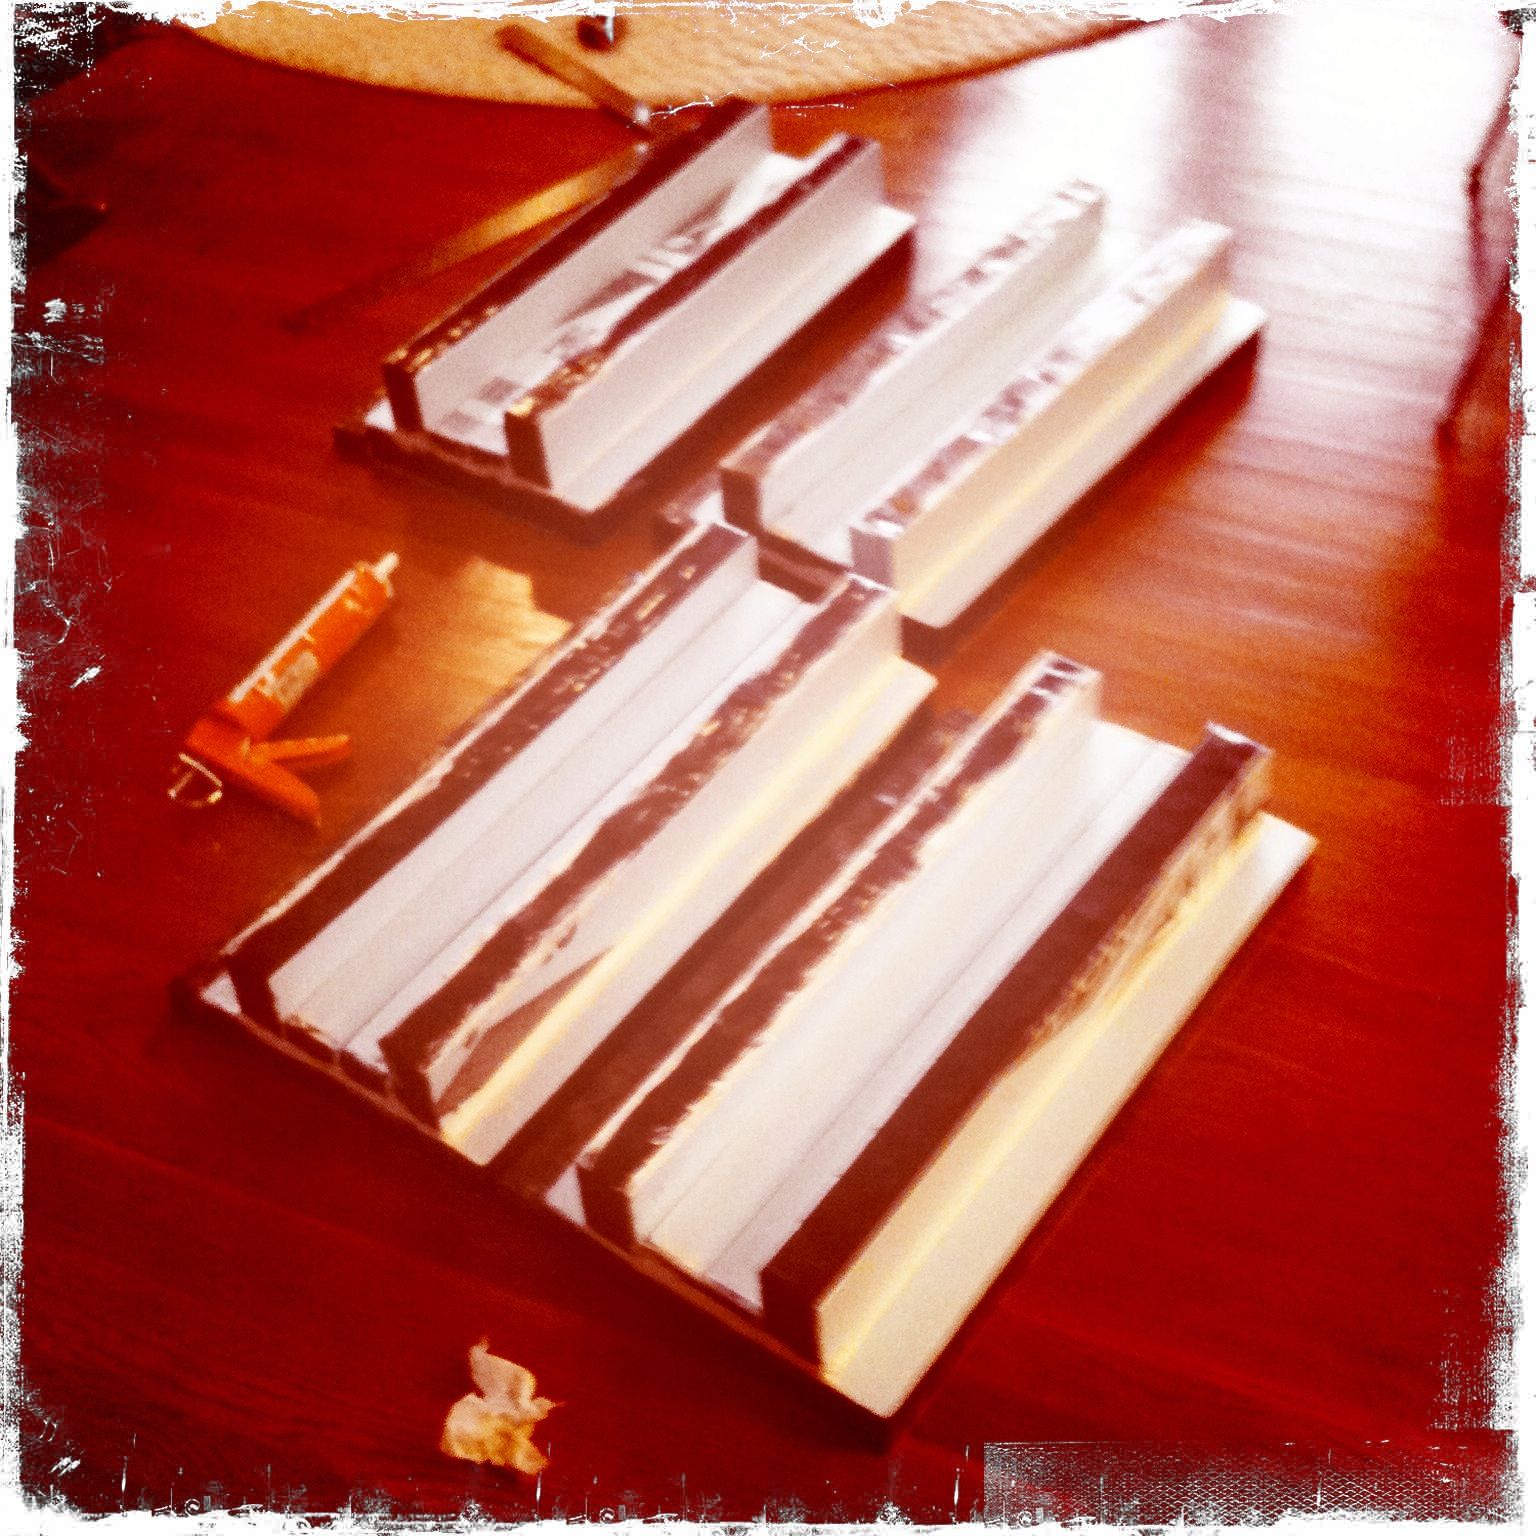
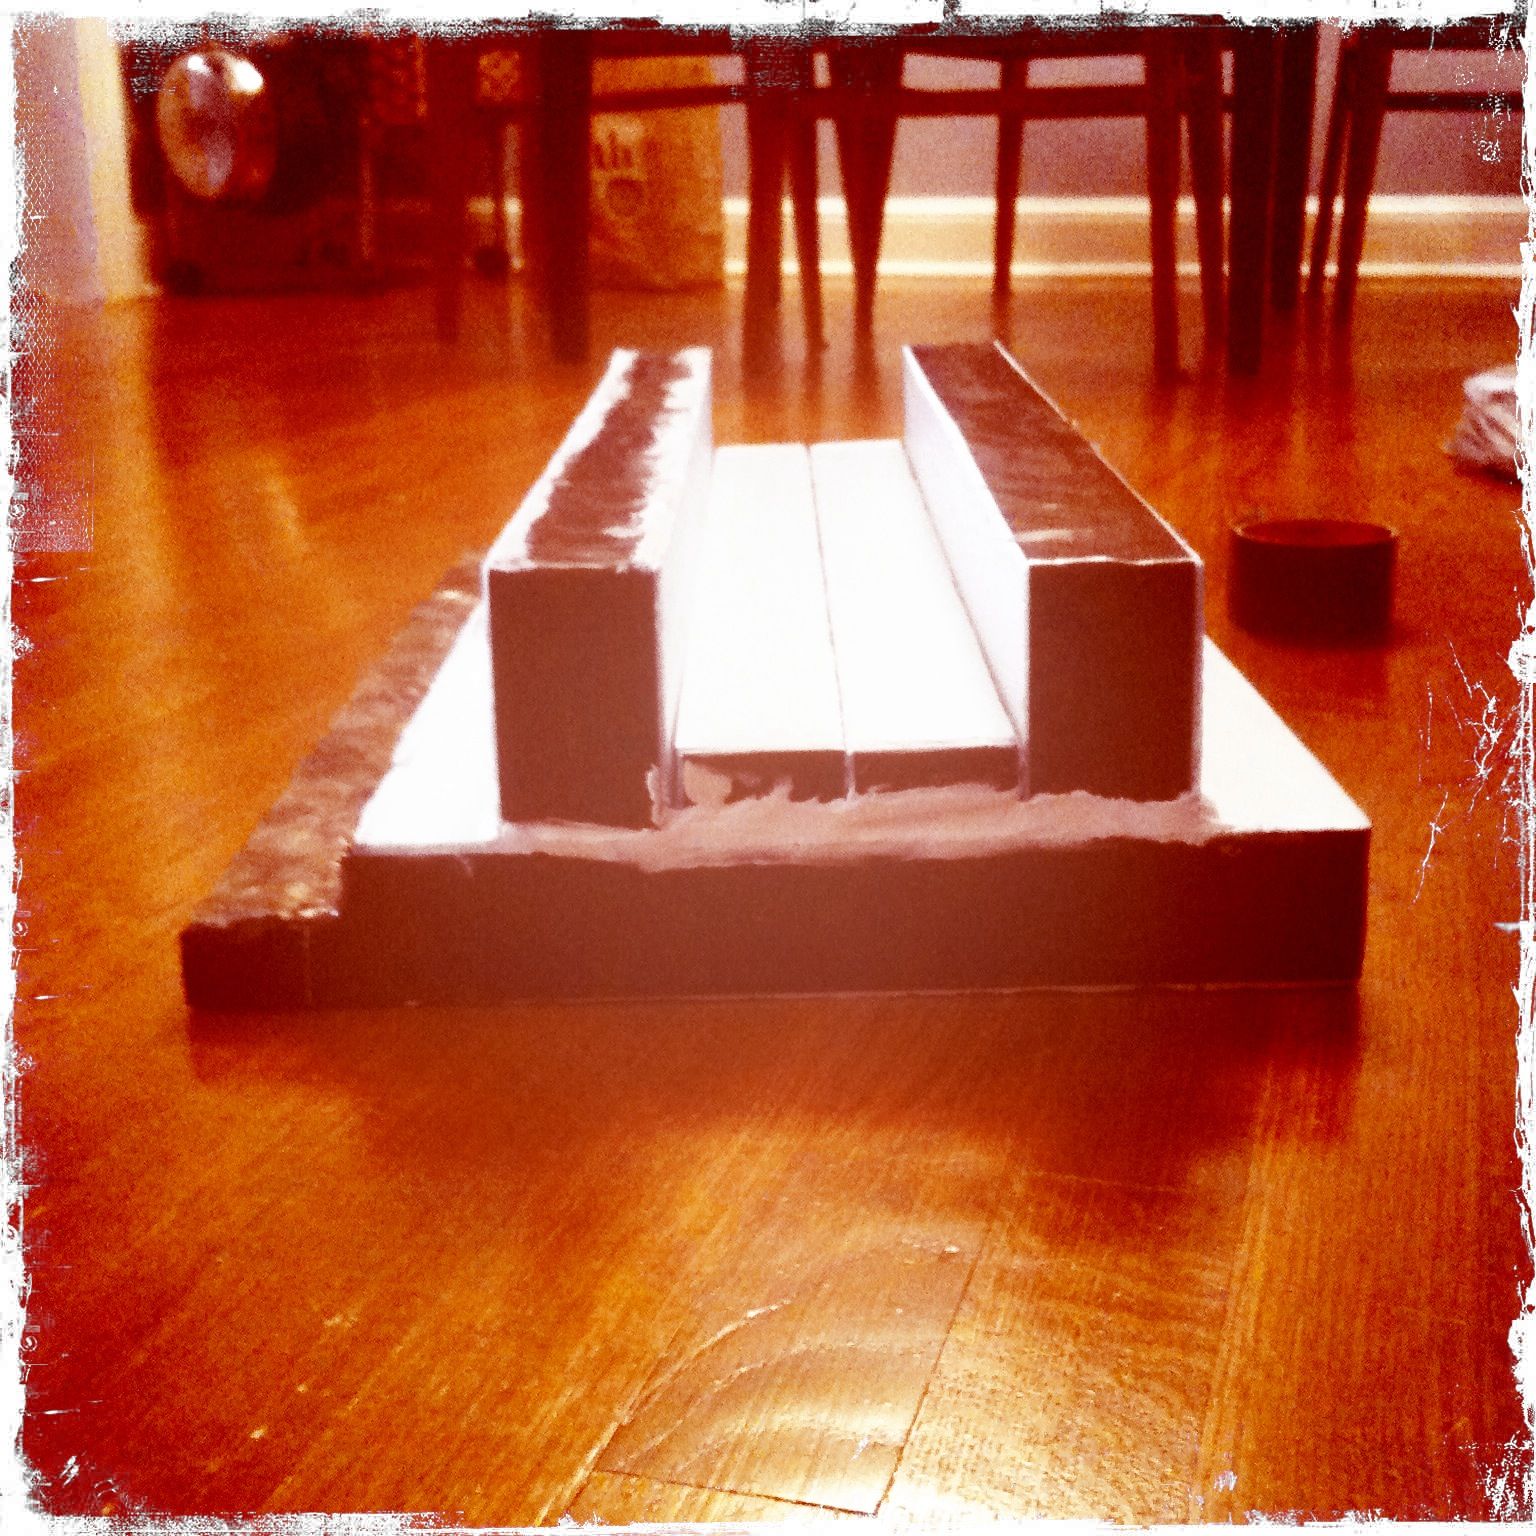
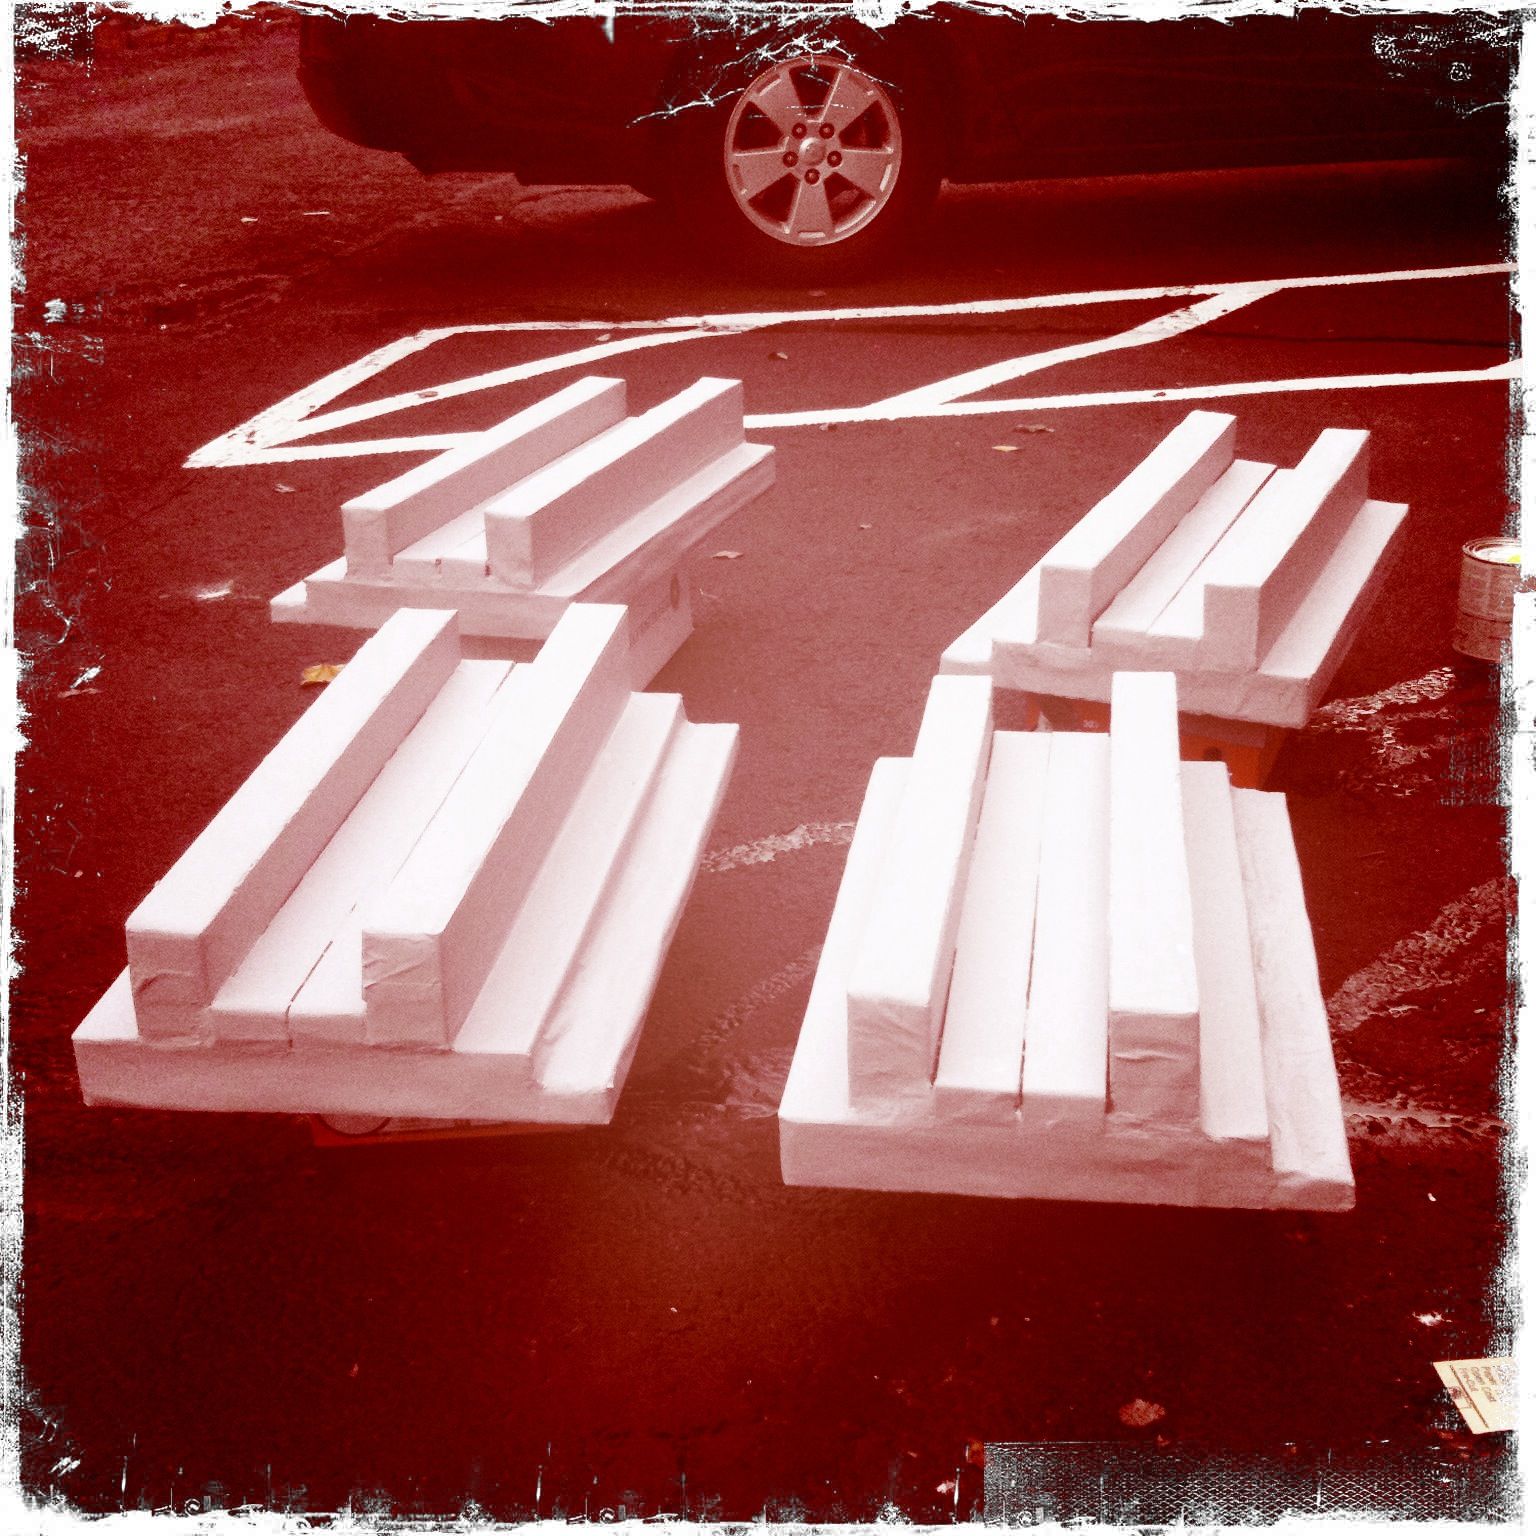
My simple construction technique was too use 2" acoustic foam board as the backboard. Using the calculated depths from the quadratic diffusser program, I chose to use a 2" bar width because of the ease of creating acurate 2" wide strips from the 2" foam board. There was only one outside section of the base foamboard that needed to be reduced in depth from the basic 2" board. This required some box cutter and razor trimming to get the correct depth, but with that approach, 2 of the bar depth levels would remain at that base 2" foam board depth, so it saved me a lot of strip making and adhessive binding in the long run. After it was together and the adhessive was dry I wrapped the entire Diffusser in strong re-enforced duct tape. (don't laugh too hard) The duct tape was to enhance the reflective properties of the foam as well as strengthen the design. Then I used spakling to fill large inconsistancies and tape creases. Diffussers work best with a combination of reflective and absorptive materials. I also painted over them with several coats of water based paint at the end to help harden the reflective surface. I attached simple picture hanging loops and wire to the back to hang them on the wall. I also used sticker backed velcro to help hold them flush in place on the wall.
 Finished
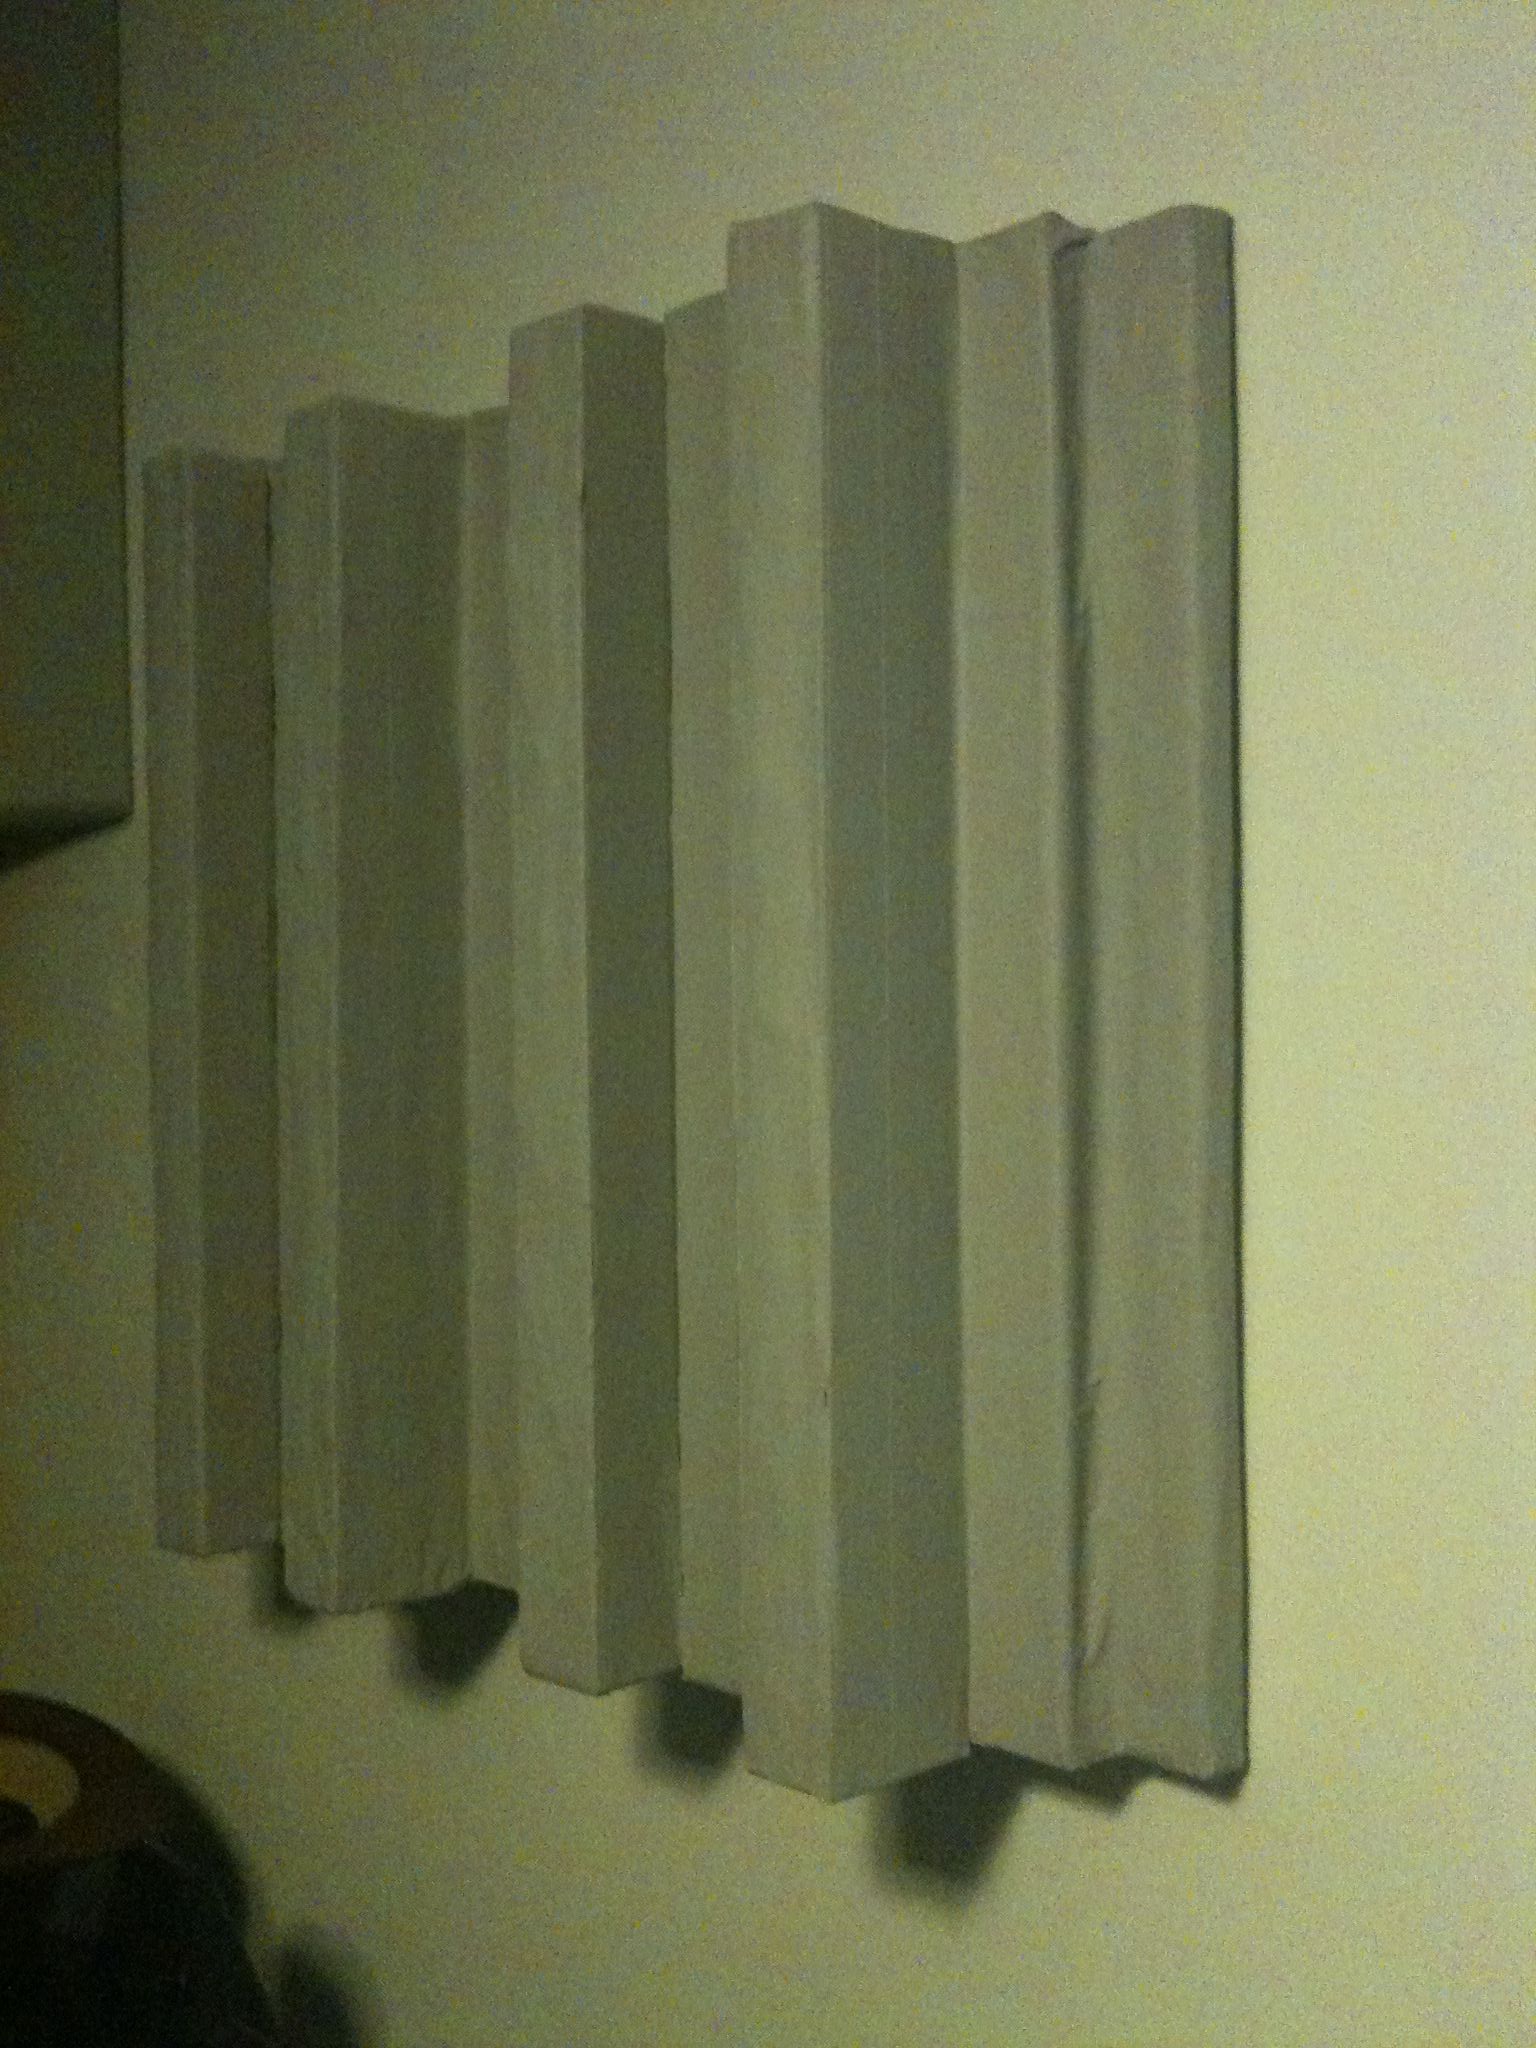
Obviously having never owned high end diffusers I can't speculate as to the comparison in sound. I will say that these have indeed made a very noticeable difference in reverb on my vocals and acoustic instruments. In fact, they far surpassed my expectations and have seriously improved the sound of my small recording space. They were so simple and cheap to make that their effectiveness was kind of ridiculous...