

DIY vs BUY - Soundproofing
DIY Soundproof Air Conditioner Encasement
To start with, this is not for a window AC unit. It is for the European "through the wall" style of AC / Heating units. This was a definite DIY project. Who would bother to produce "though the wall" air conditioner removable soundproof boxes? They are made in all different sizes, and they aren't even common in apartments let alone recording studios... It was either I make it myself or record city sounds all day.
This is a simplified box style design of my window plugs using the same materials. It is a removable soundproofing box for a through the wall AC/Heat unit (not a window insert unit). These are the european style stand alone wall units, not vents from a central AC system. Like window plugs, it requires a tight fit and a combination of absorbtive and reflective qualities to work properly.
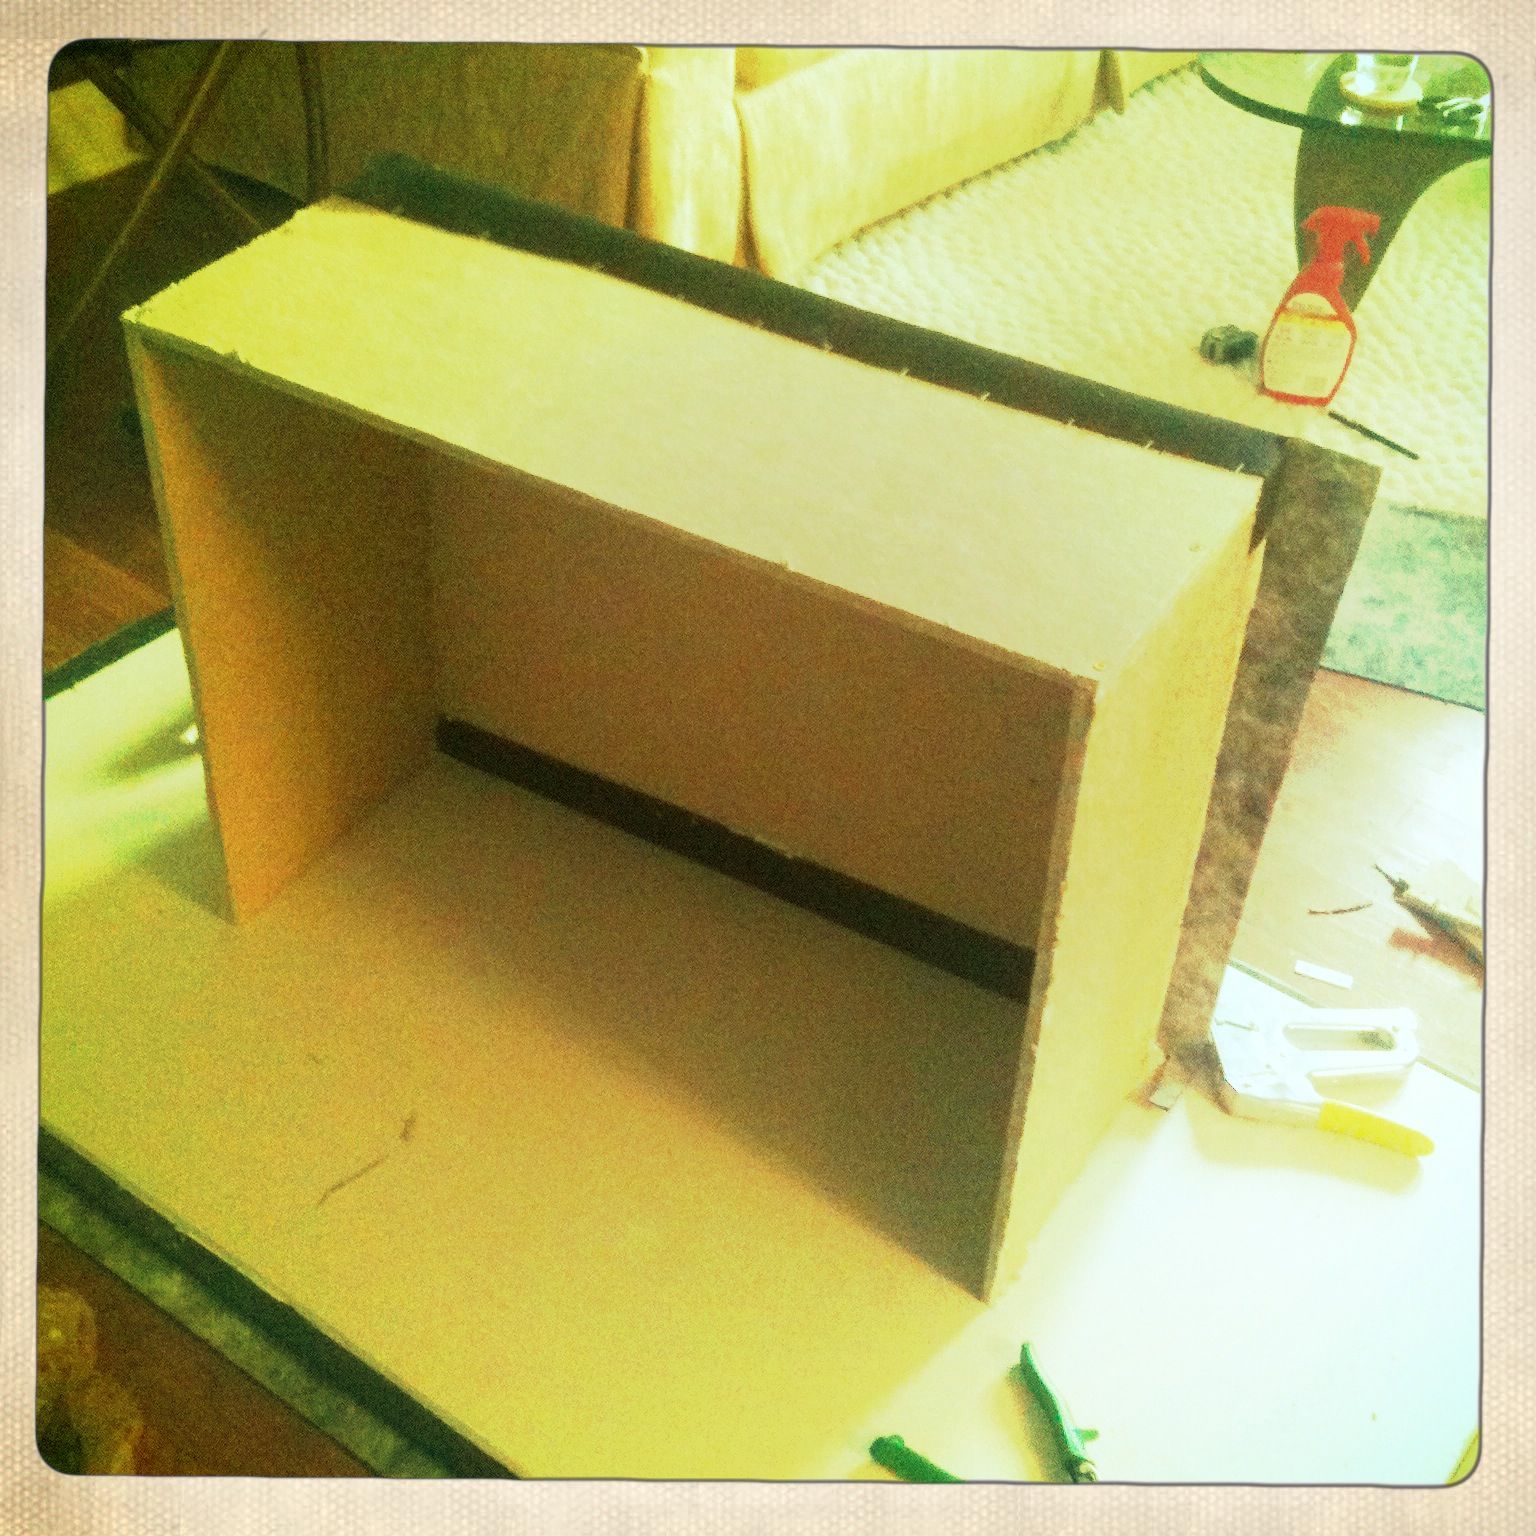
Because the AC unit cover required simple removal it need to be lighter and more re-enforced than the substantially heavy window plugs. It probably weighs in at around 35 pounds. Light enough to easily move, but still heavy enough to hold a tight seal against the wall and floor. It was made completely from the acoustic fiberboard and the acoustic ormtfbarrier material. I needed a much firmer frame than adhesive could deliver, so I was forced to use screws to make a strong enough encasement. I designed it so that the screws only passed through the top of the box and then into the edge of my front and side barrier material, and then placed screws through the side walls of the box into the edge of the front material. I did not use any 90 degree braces because I didn't want to further compromise the barrier materials by mounting them. The design keeps the exposed portion of side and top walls unpenetrated and avoids direct penetration of the front barrier material. This should reduce the vibration and sound that is passed through by the screws. However, it is a much more dificult construction as the front board must be cut perfectly and the box will not be sturdy until all of the sides are attached with several screws / glue. On top of that... The acoustic boards are also heavy and have a tendency to crumble and release screws. It must be moved carefully during construction, placed in the correct positions and braced while the glue sets or it will tear itself to pieces under its own weight. On top of that... A wayward screw will miss the edge of the front board, penetrate the barrier material and seriously reduce the boxes effectiveness. Now that the warnings have been said... I didn't really have any problems other than a few screws losing thier tight hold.
Step 1- measured the AC unit to find the measurements of the "front facing" board with enough clearence to encapsulate the entire unit and meet with a flush wall, keeping in mind that the other boards are going to be attached to the outside of the main "front facing" board. Measure the side and top boards depth to allow for 4" of open air clearence past the AC unit front when flush with the walls. Due to crown molding and a shallow floor clearence of my AC unit, I could not put a bottom on the box and still get tight fit with the wall. I chose to run the outside mounted sides to the exact height of the front board and then run the top board the full length of the box. I used a combintion of adhessive and side addressed screws to mount all of these acoustic fiberboards together. I ran a good amount of adhesive down the edge of the front board, then I put screws throuh the side and top boards and into the edge of the front board. Do not overly tighten the screws or they will slip. (If a screw slips, leave it for the glue to fix and move on carefully) Passing the screws through glue will help keep the screw from slipping after it is dry. Give each connection plenty of time to dry. The glue is not just for good measure, it is doing at least as much to hold this together as the screws are. All sides should be combined with extreme care. Boards should be braced at all times during construction as the screws would easily rip out of the material under the weight of a shifting board before all sides are attached and dried. Anytime the structure needs to be repositioned for the next board attachment I highly recommend a second pair of hands being involved.
 Construction
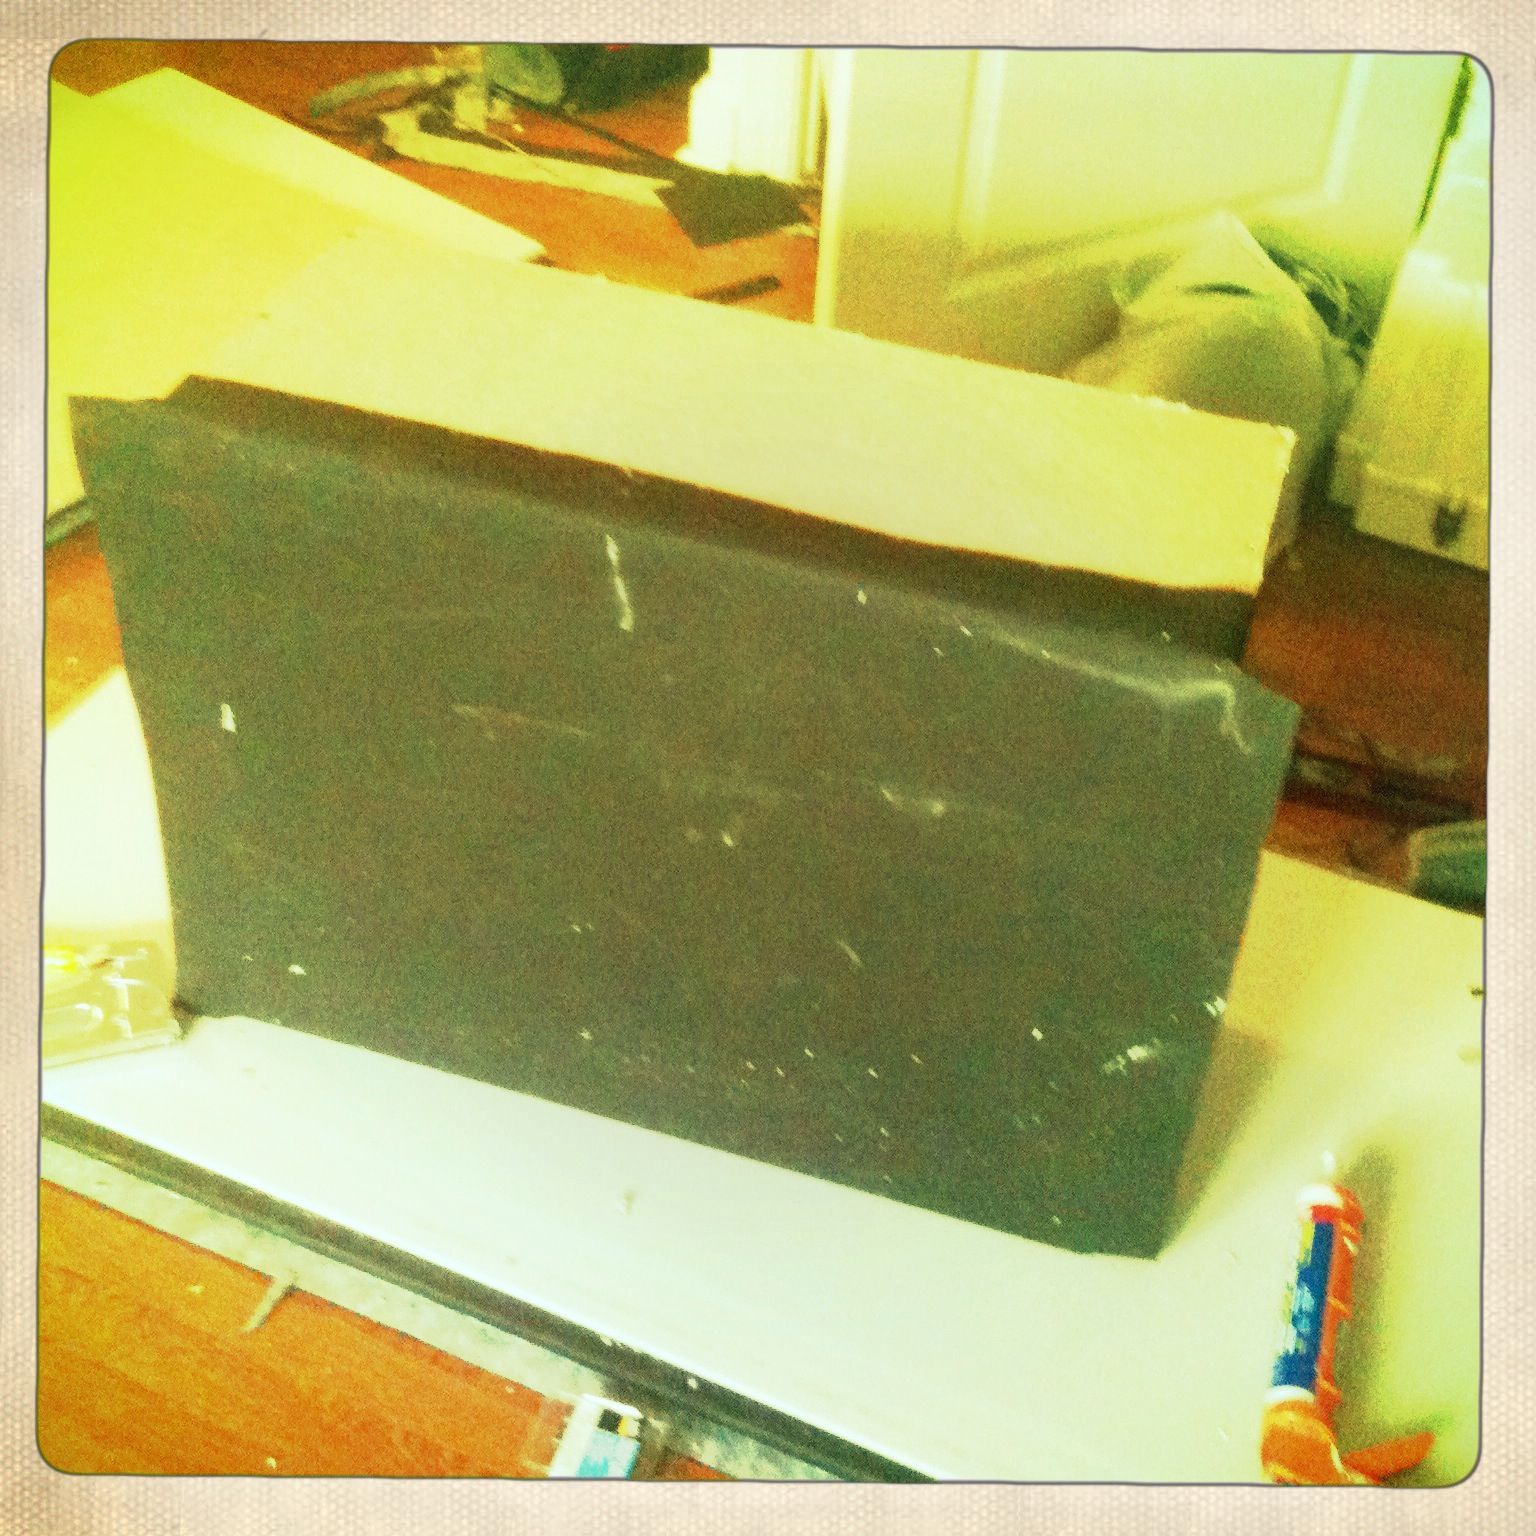
Step 2- time to attach the acoustic barrier material to your AC unit cover box. Same routine as the window plugs... Adhessive alone on the flat part of the boards and industrial staples on the corners of the boards with enough adhessive to help fill the staple holes. The only difference is that I allowed more of a acoustical barrier material overlap on the corners because of the use of screws in the process. Once again, I used the technique of attaching a strip with a 3" overhang on the parts of the board that meet the wall in order to help seal sound leakage. This is certainly not a light box, but it can be easily moved by myself when needed and it does a good job of insulating the room from outside temperature changes which limits the amount that I need to run the AC unit anyway.
 -
-  -
- 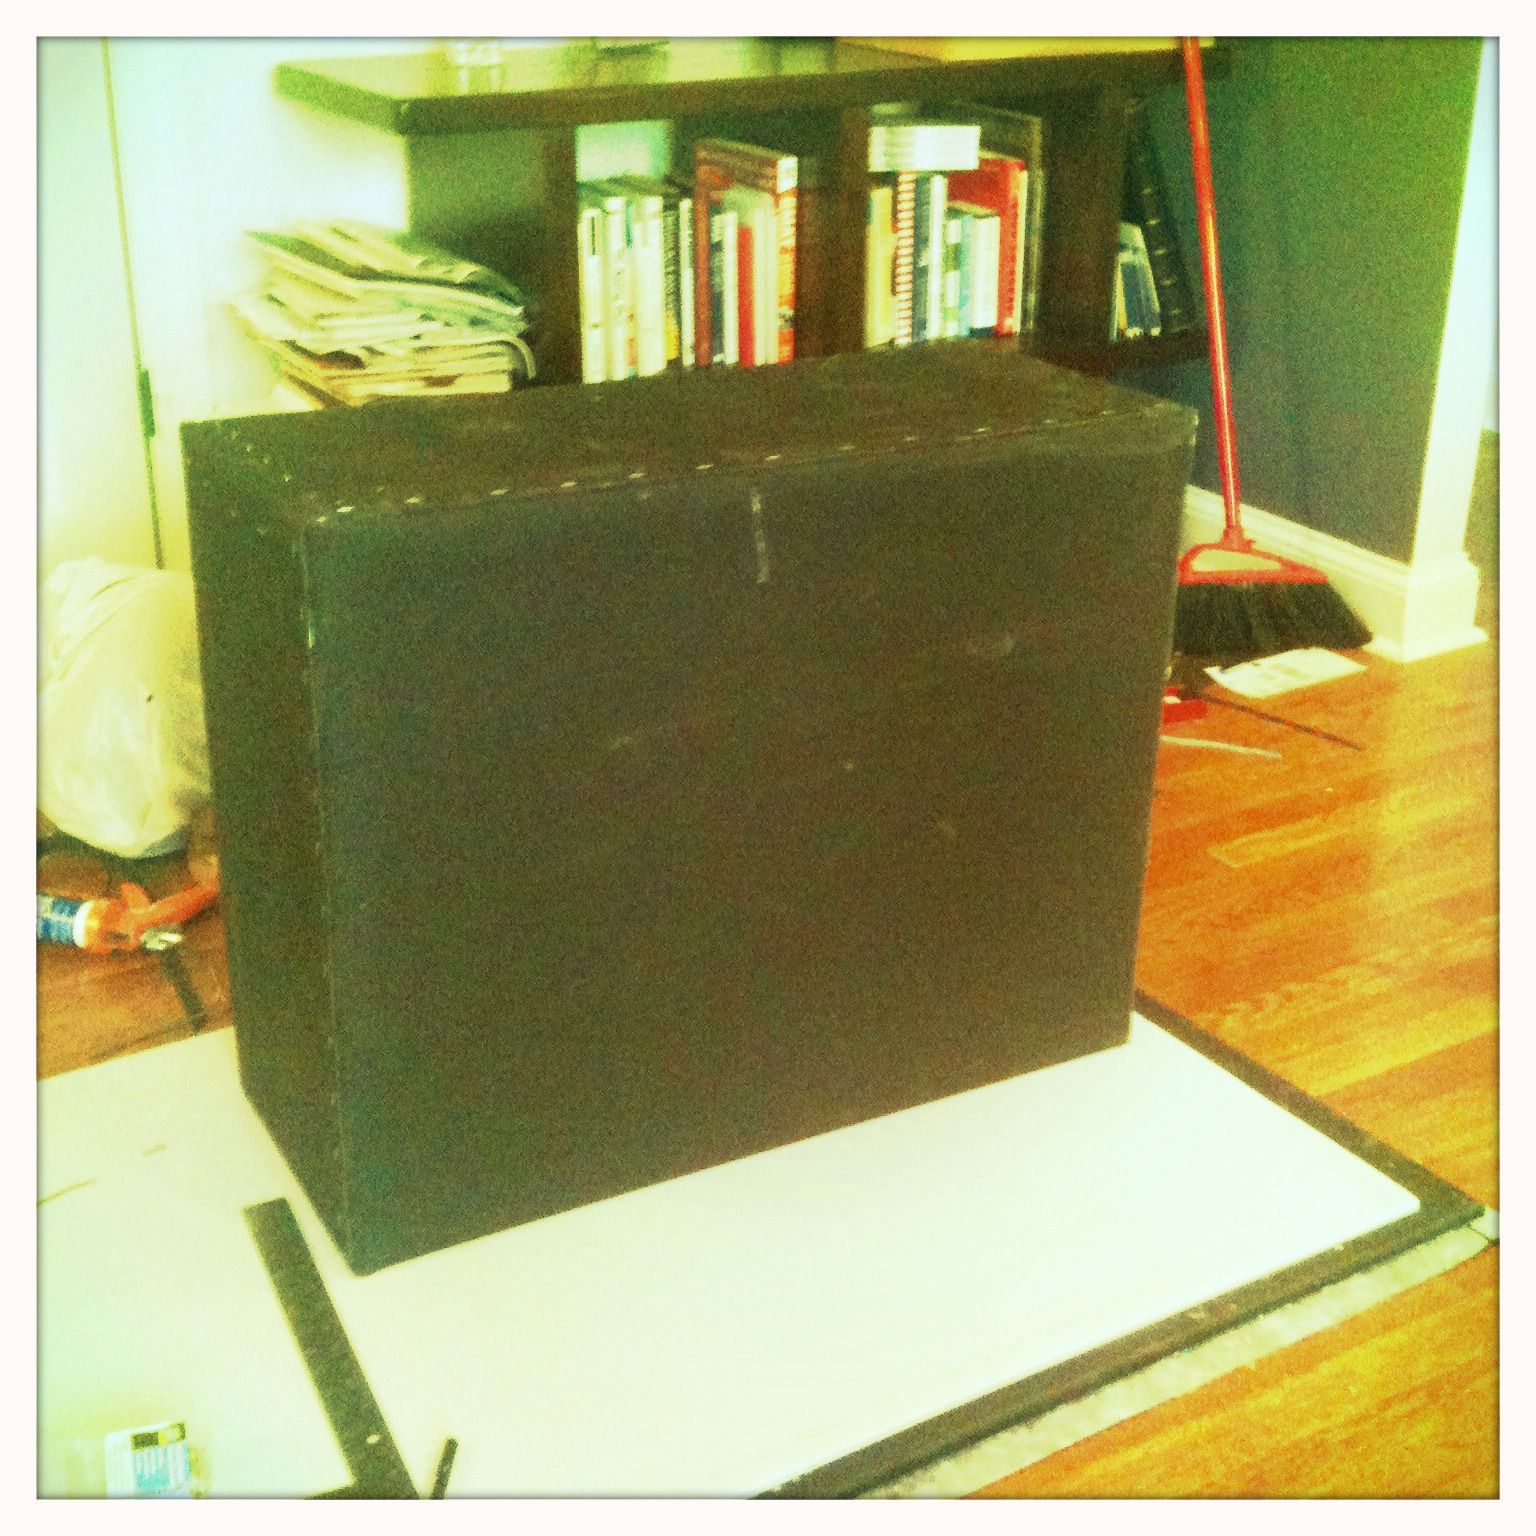
If this DIY project seems to lack detail, it is because I did not want to repeat a ton of the descriptions and steps that were already covered in my DIY Window Plugs Project. Check that out for some added details. Total project time was probably about a full day, mostly because of drying time. It has helped to block out low frequency road noise, motorcycles and aircraft (those are my ultimate test sounds as they are amongst the hardest to block) as well as the general city sounds. Not as heavy duty or effective as my window plugs, but effective enough and much lighter / easier to remove.