

Modifications and Enhancements
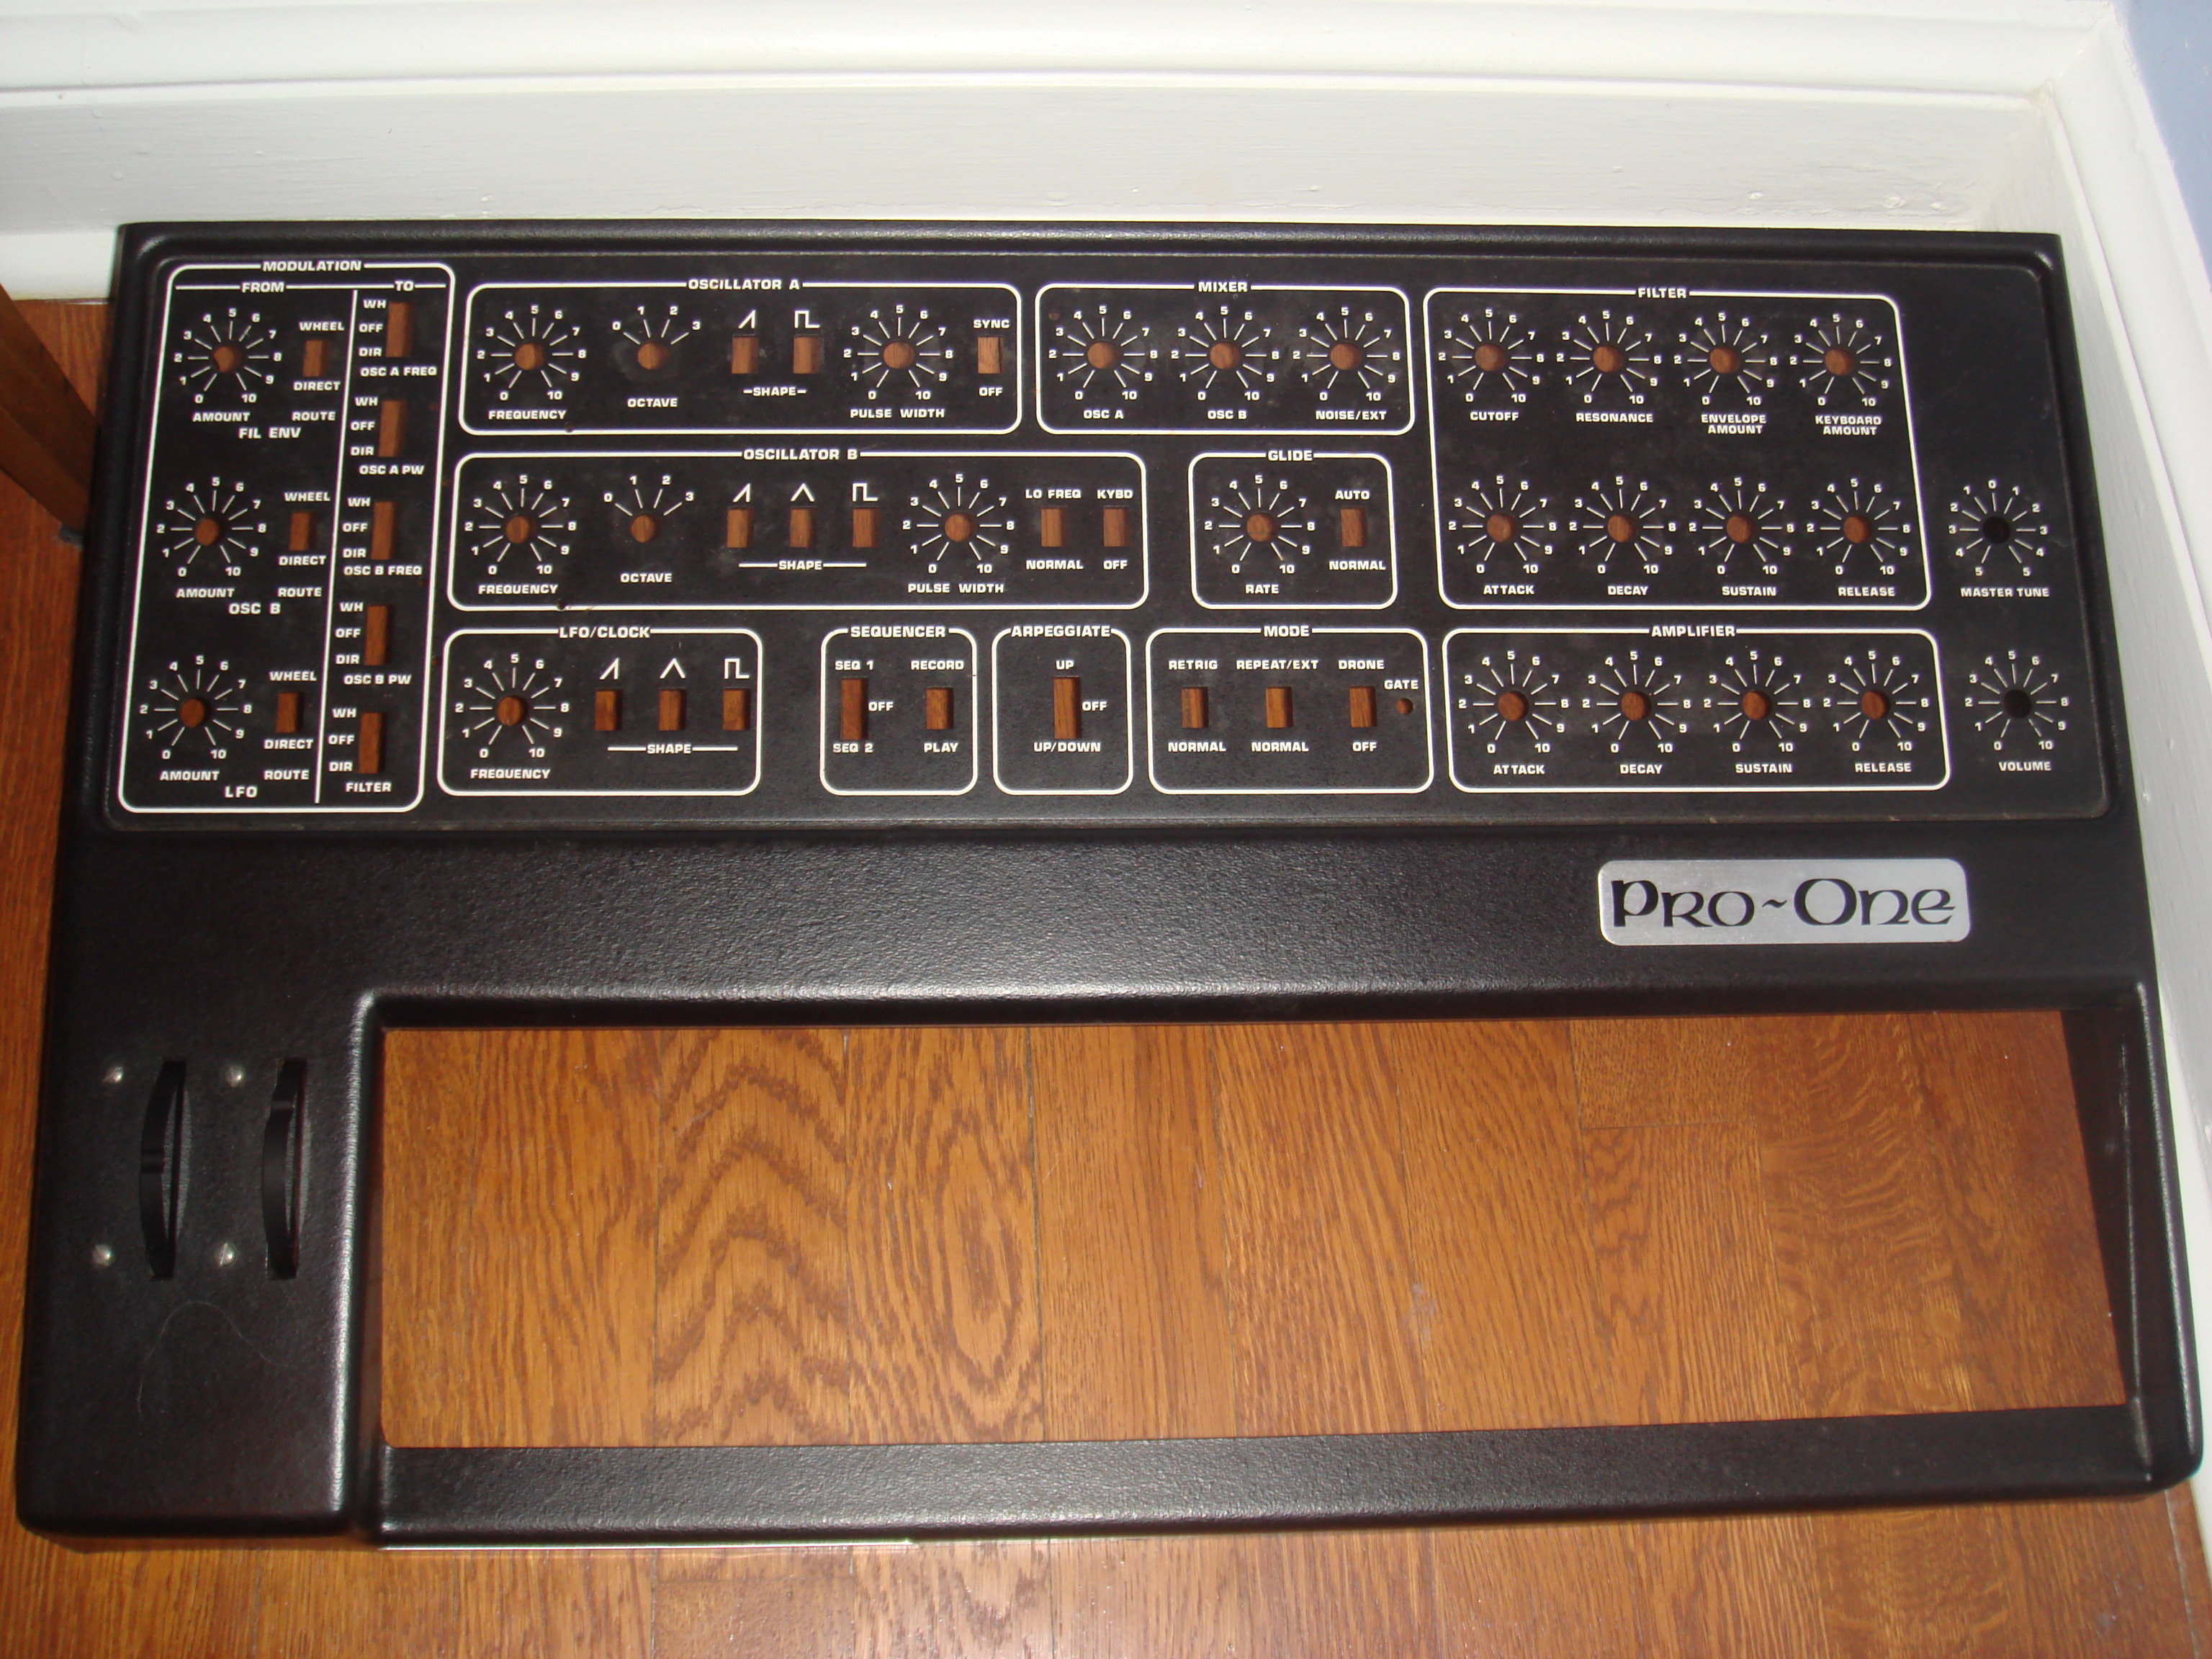
Sequential Circuits Pro One (Repair and Reconditioning)
Buying a mint Pro One was not an option at today's high prices, but I found a good deal on eBay and was convinced that I could recondition it myself. The housing was dirty, the pots were scratchy, the unit only powered up intermittently, the audio was buzzy, the keyboard keys were uneven and several were non-functioning, at times the unit only produced noise in the drone mode and the CV pitch and note scale were off causing out of pitch notes no matter how carefully you tuned the oscillators. There were a few other problems, but I don't remember them now.
Pro One buying 101 starts with serial numbers. The Pro One's with serial numbers under 8500 are equip with the stable and easy to repair J-wire style keyboard, while serial numbers above 8500 have the more troublesome and difficult to repair membrane keyboard. I hunted for a serial number below 8500 to ensure that I was dealing with the J-wire keyboard setup, but above 1500 to avoid having a unit with the main power supply mounted to the circuit board which reduces durability.
First let's talk cleaners and solutions. 90% isopropanol alcohol is usually a good cleaning choice for electronics since it evaporates so quickly. Deoxit D5 is a contact cleaner and an amazing tool for cleaning and caring for vintage electronics. Many of the problems with this unit were simply fixed by cleaning the connections with D5. Deoxit F5 is a fader lube and it works wonders on sticky / frozen / scratchy faders, pots and switches.
 Cleaning / Repair
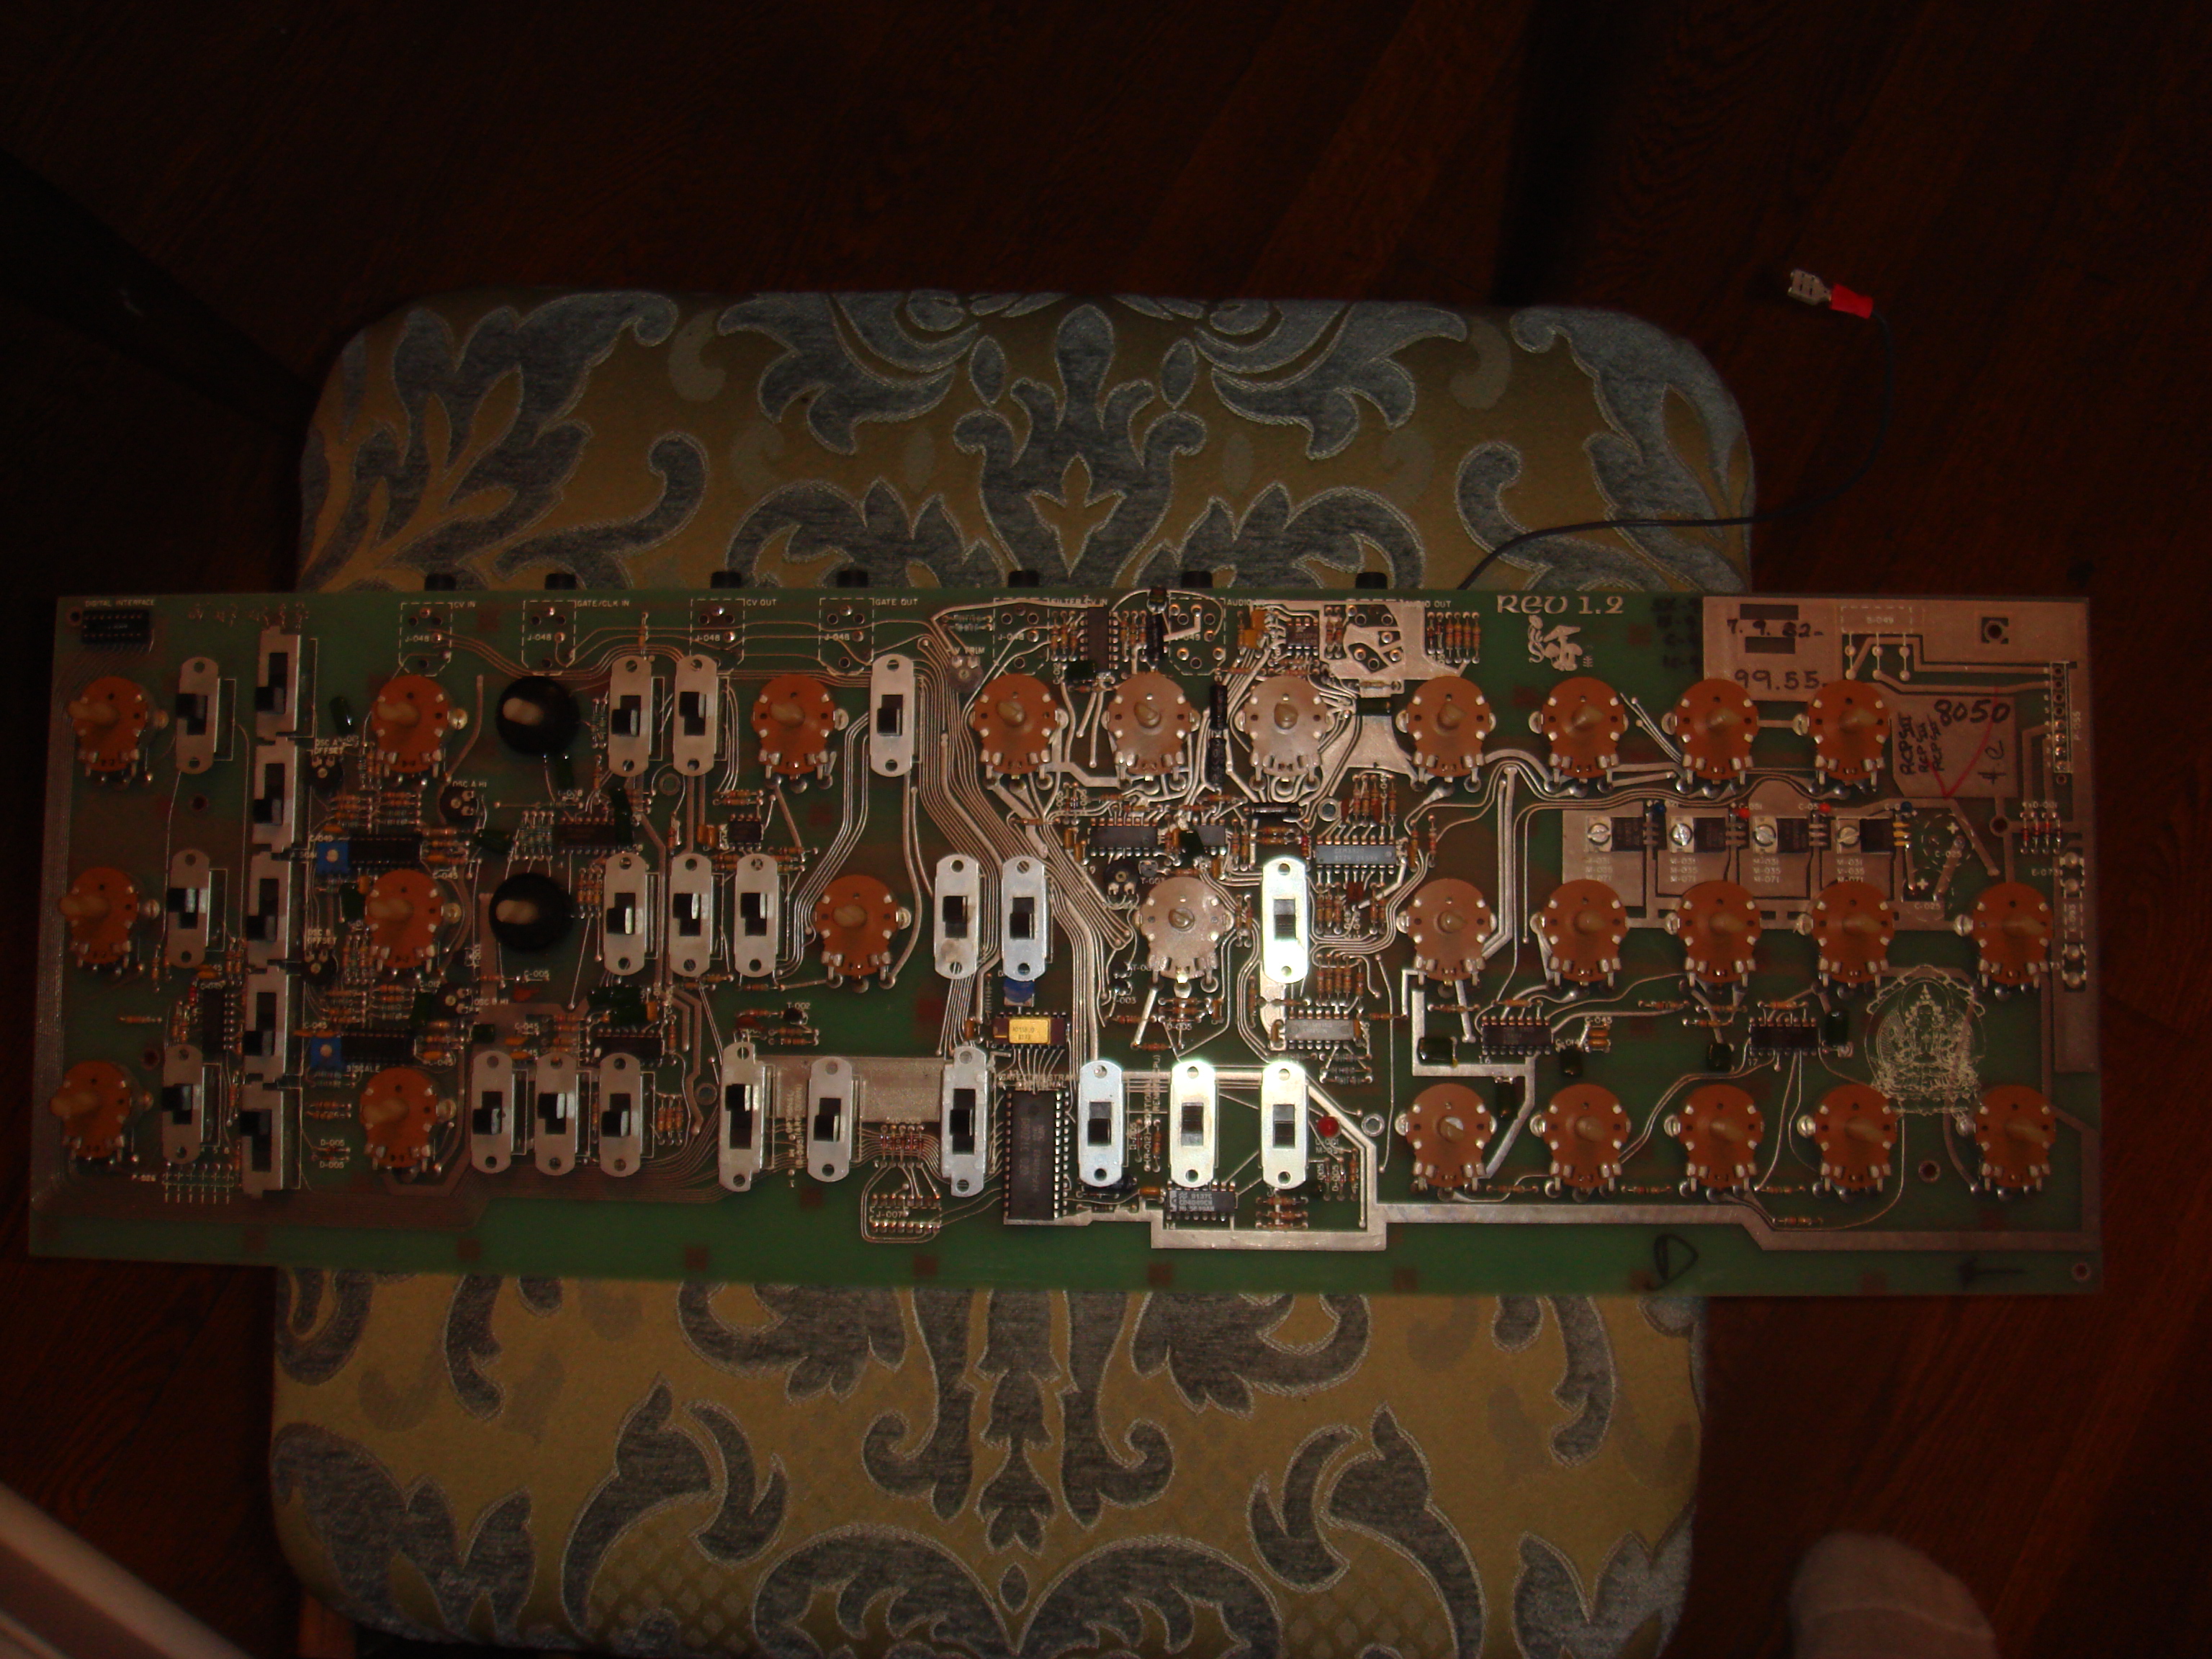

Step number one was to completely break down the Pro One and clean every square inch! There are plenty of tutorials out there on how to take apart a Pro One, so I will not go through every screw here. It was a total dust factory. I half expected to find a dead rat wedged in there.... Most of the basic internal cleaning was done with air bursts and a small amount of 90% isopropanol alcohol on a rag. The outside shell needed some light soap and water, and a bit of all purpose orange cleaner. The wood sides were in great shape and only needed some furniture polish.
Now it was time to clean up circuit board, repair loose connections and recondition the pots and switches. I started by cleaning the board with a small amount of alcohol on paper towel and q-tips. (I always wait several hours before powering up a circuit board after cleaning it with any solution) The circuit board itself had a surprising amount of artistic customization. There is an elaborate Buddha, some ancient / alien looking symbols and even a cluster of mushrooms and flowers all imprinted in raised silver. A few nice touches that remind you that you are performing surgery on a lovingly designed artistic instrument, not just another mass produced piece of electronics.
I started with using the Deoxit D5 on all of the connections to see what was dirty and corroded and what actually needed repair. After that I turned my attention to the intermittent power failure problem. I tracked it down to the fuse housing. ( a red plastic fuse case on the rear of the unit by the power cord.) It was a quick fix. I simply bent the metal fuse connectors for a more solid connection, sprayed them with D5 to remove corrosion and bent the latches out that hold the fuse housing more firmly in place. The audio buzz was fixed by re-soldering a connection to the audio output jack. The switches and pots were easily fixed by using the Deoxit F5 Faderlube. Just a short spray and then I spent some time working the switches and pots through their full range of motion. A few took 2 or 3 times through the process, but by the end they were all smoothly working and good as new.
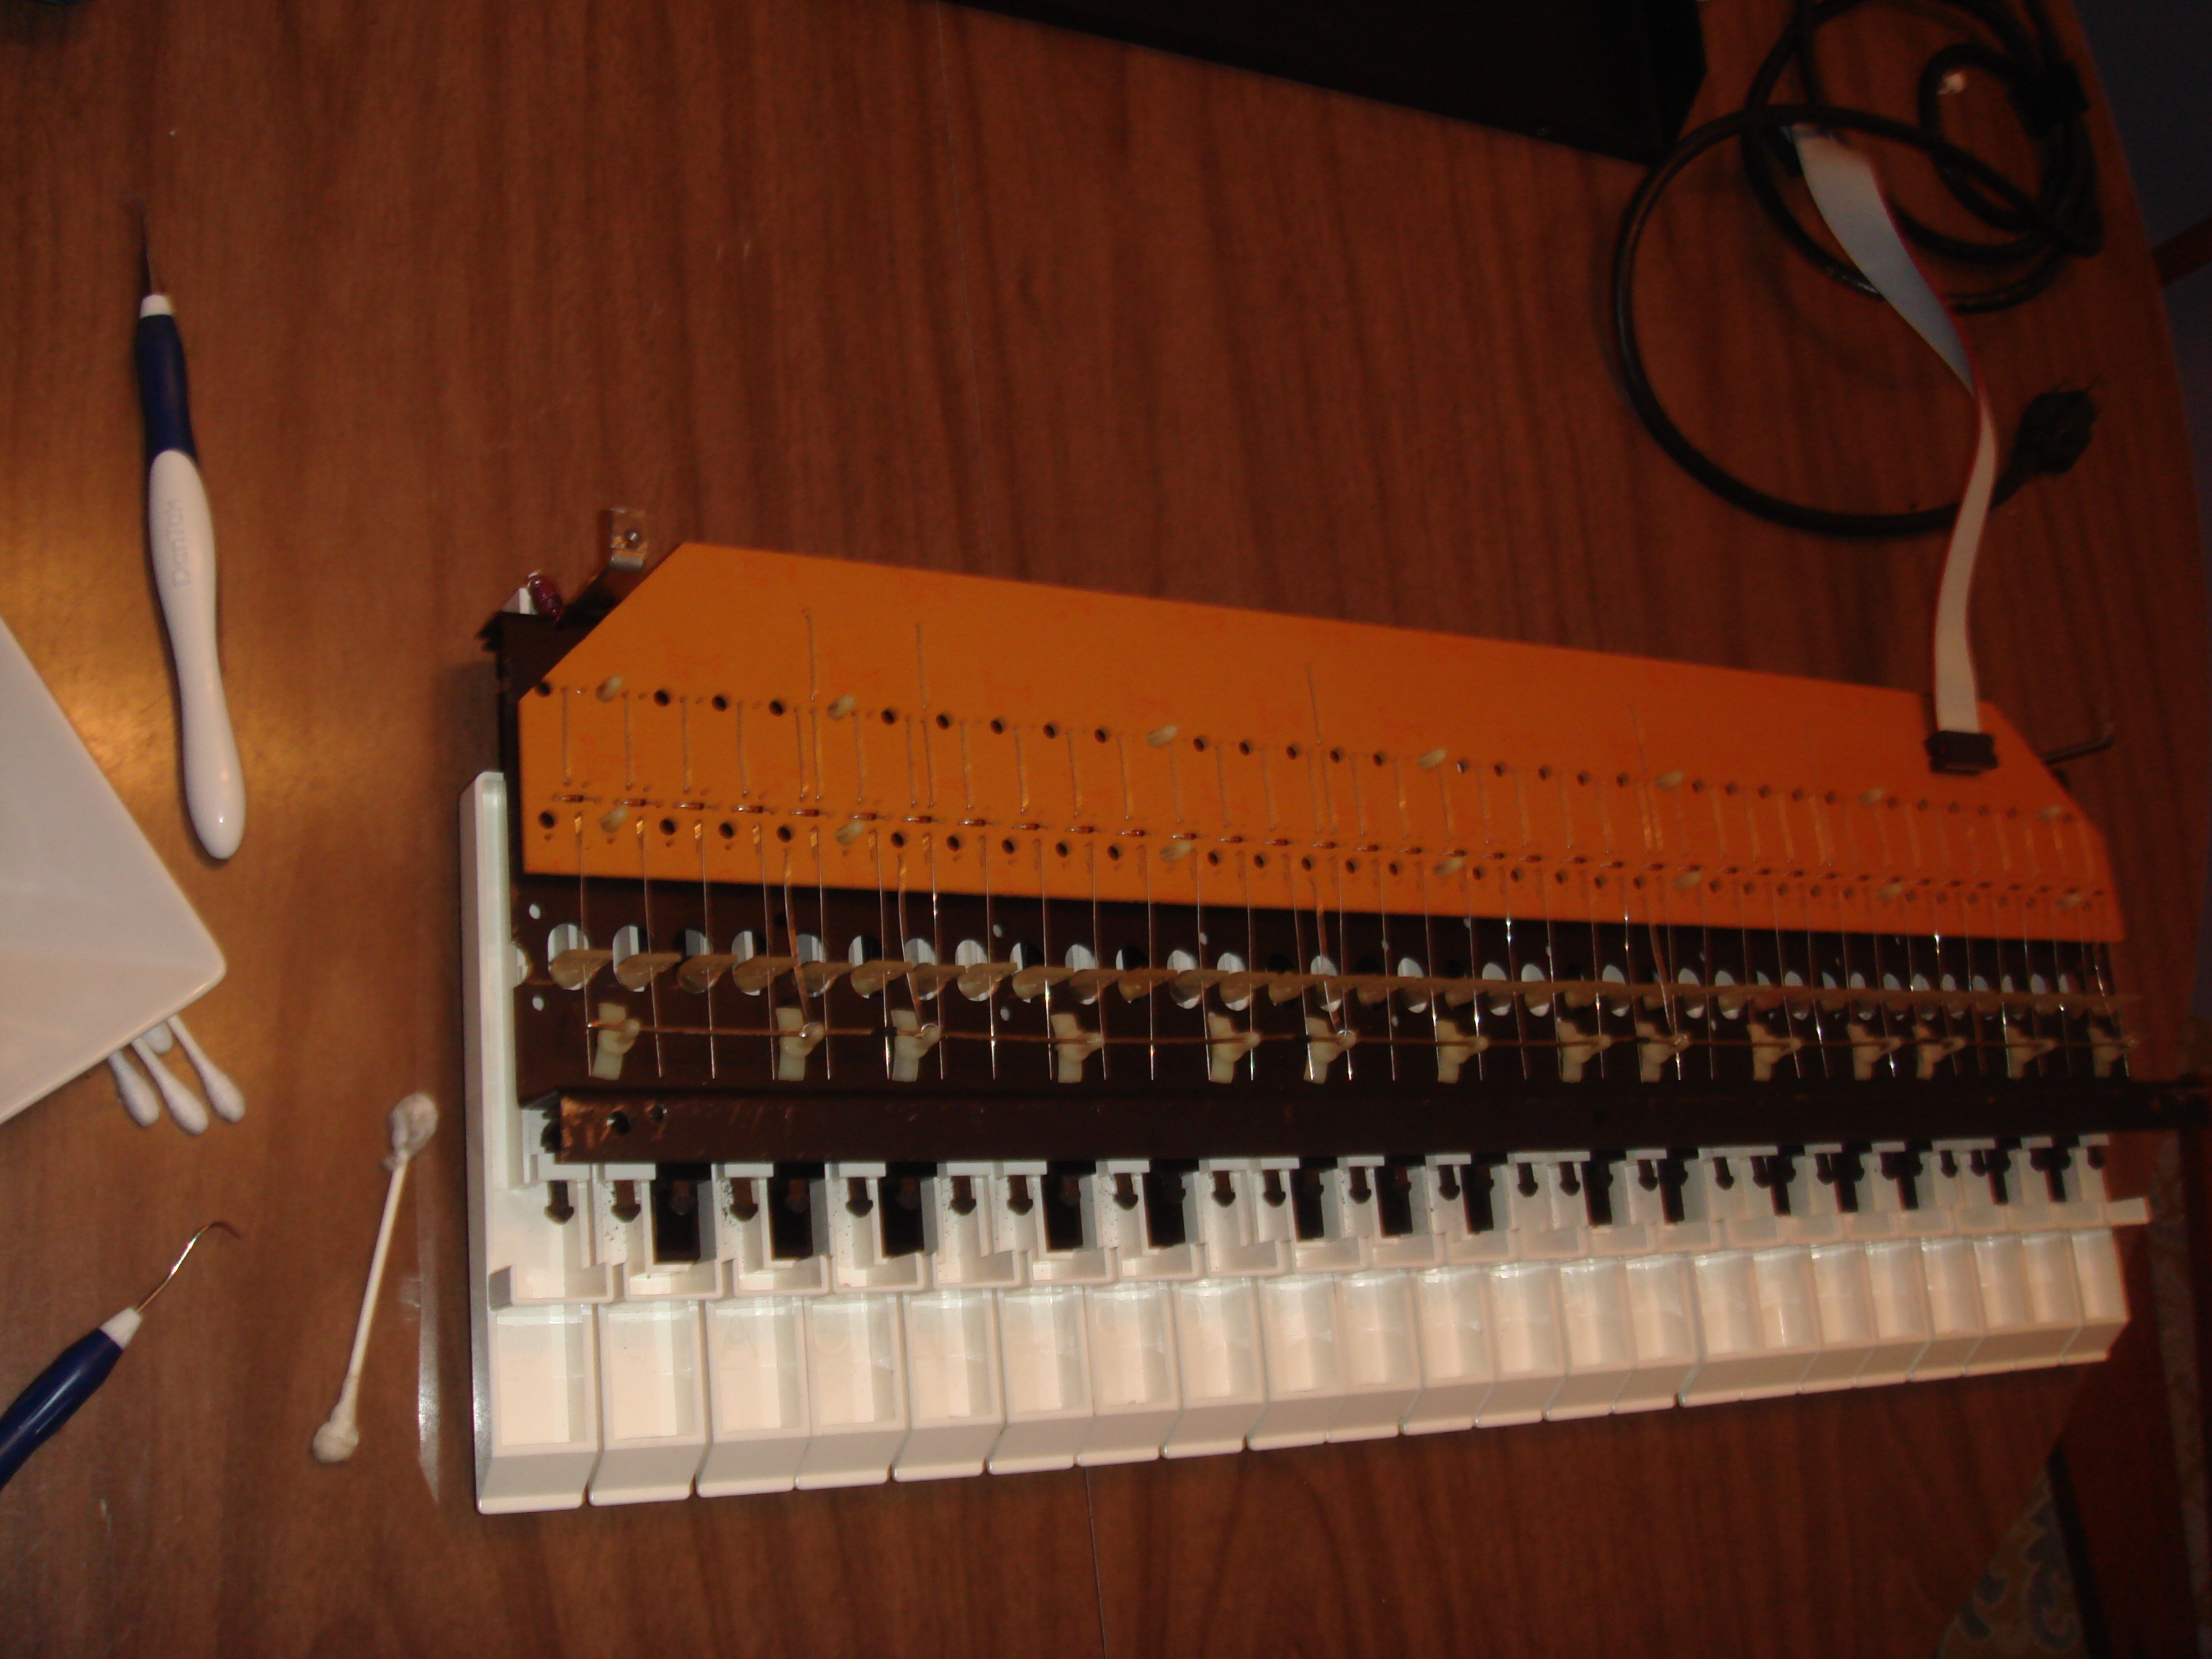
The J wire keyboard setup is quite easy to fix if you treat it delicately. It is simply a long bus wire that runs the length of the keyboard with small wires for each key that make contact to the bus wire when the key is pressed. All you need to do is clean any crud off the wires with an eraser or light sand paper without bending them out of place. There are rubber stoppers under each key to ensure that they stop the contact wires in the right place and the keys play with a nice feel. (no plasticky clicking of keys) I personally play with a light touch, so I bent all of the keyboard contact wires to a position that gave me consistent light keyboard action. I was a stickler for perfect note triggering and perfect uniformity on the depth a key needed to be pressed, but just making it playable doesn't take that long.
Last but certainly not least was the tuning and scale adjustment. This is not simply oscillator tuning. When the scale voltage is off, the frequency spacing between notes is inaccurate. This means that the notes become more off pitch the further that you move away from the note that you used to tune your oscillator. Did I lose everyone yet? Basically it is a big problem because everything sounds off key. In order to do this repair yourself you will need a multimeter that displays down to the thousands of a volt. These can get pricey and complicated to use pretty quick. I went with a used Fluke 117 true RMS multimeter off of eBay. It is safe even if set incorrectly and even has a universal mode where it sets itself to best measure and display the voltage. Given my pension for electronic tinkering and home repair it made sense for me to have an accurate and flexible multimeter. I do recognize that most people will have little use for such a device. I will leave that up to you, but it can be hard to find someone local to calibrate an old synth like this... And if you can learn to do it, you can always keep it calibrated for free at a moment's notice. I have posted the manual and calibration instructions at the bottom of this pate. These are the best calibration and tunning instructions I have found, but it still required some trial and error to get it ballanced out. This is not a simple process. It requires multiple adjustments, power offs, long warm ups, re-checking the voltages, recalibrating, power offs and repetition of the cycle... And repeat... Until it is as perfect as you can get it. It made all the difference in the world though. You will need some jewelers screwdrivers for tuinnig and adjustments. In order to adjust the R1181 DAC SCALE, you will also need a multimeter that can acurately display to 1/1000th of a volt. (the goal is an exact 3 volt difference between the readings for the highest and lowest keys) If you are having tunning or scaling issues then the DAC Scale is probably your culprit. The manual says that the DAC Scale must be adjusted first as it will throw out your tunning, however in my experience... Changes to tunning will also effected the DAC Scale readings. Plan on spending some real time to make slight adjustments back and forth until they come in ballance and multimeter show as close to the exact 3 volt difference between high and low keys as possible.
 Finished
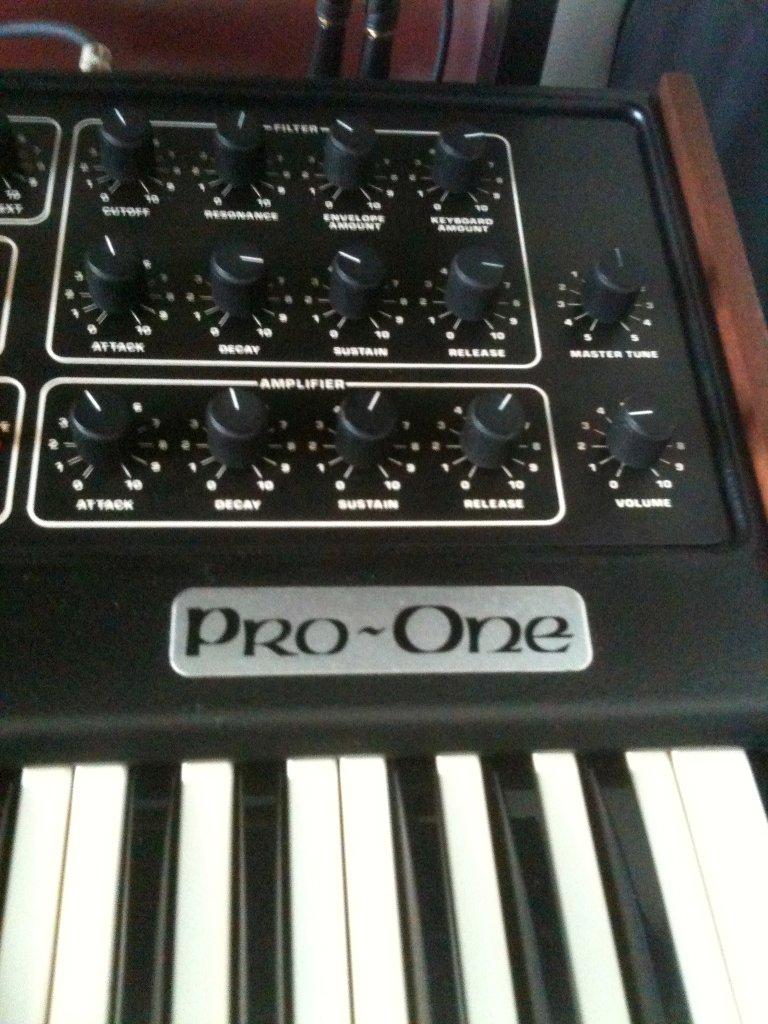

Now I have a finely tuned Sequential Circuits Pro One in mint (or at least near mint) condition, on an indie rockers budget that was brought back to life with my own hands! I was a novice at the beginning of this project. It gave me confidence to tackle even harder projects. This great synth continues to repay me for the love and work that I put into it.
(click here for Pro One Manual and Tunning Instructions)